Wednesday, June 29, 2011

A million dollar pie!

A few years ago I was watching one of the morning news shows and they featured the million dollar winner of the Pillsbury bake off contest. This lady (Suzanne Conrad) won with her Oats and honey granola pie. This recipe looked so good and so easy to make I knew I had to try it! So I did!  And I loved it!  Well the recipe got lost and forgotten in my recipe card file until Monday night.  I was looking for a good family night treat and  I came across this forgotten recipe and remembered how much I liked it.  I had most of the ingredients minus a couple so I decided I could improvise with what I already had in my kitchen.

here is the original recipe from the Pillsbury website and then you will find my tweaked version below:

Oats 'n Honey Granola Pie

Oats 'n Honey Granola Pie
.INGREDIENTS:

Crust1box Pillsbury® refrigerated pie crusts, softened as directed on box

Filling1/2cup LAND O LAKES® Butter

1/2cup packed brown sugar

3/4cup corn syrup

1/8teaspoon salt

1teaspoon vanilla

3LAND O LAKES® Eggs, lightly beaten

4Nature Valley® Oats 'n Honey crunchy granola bars (2 pouches from 8.9-oz. box), crushed (3/4 cup)*

1/2cup Fisher® Chef's Naturals® chopped walnuts

1/4cup quick-cooking or old-fashioned oats

1/4cup Hershey's® semi-sweet or milk chocolate baking chips

Whipped cream or ice cream, if desired.Show Directions

Hide Directions

DIRECTIONS:

Heat oven to 350°F. Place pie crust in 9-inch glass pie plate as directed on box for One-Crust Filled Pie.

In large microwavable bowl, microwave butter on High 50 to 60 seconds or until melted. Stir in brown sugar and corn syrup until blended. Beat in salt, vanilla and eggs. Stir crushed granola bars, walnuts, oats and baking chips into brown sugar mixture. Pour into crust-lined pan.

Bake 40 to 50 minutes or until filling is set and crust is golden brown. During last 15 to 20 minutes of baking, cover crust edge with strips of foil to prevent excessive browning. Cool at least 30 minutes before serving. Serve warm, at room temperature or chilled with whipped cream or ice cream. Cover and refrigerate any remaining pie.


High Altitude (3500-6500 ft):

 
And here is my tweaked version :-)  Shh!  Don't tell anyone, but I think I might like mine better :-)


 Follow the above recipe, but this is what I did different.
-Instead of butter I used coconut oil.
- Instead of oat and honey bars I used 2 cups of granola with almonds in it.
- I am not a lover of walnuts so I did not add them.  I would have used pecans or almonds instead, but I did not have any on hand. So I figured I had few almonds in the granola so I called it good enough:-)
- I also added 1/2 cup of coconut flakes and about a 1/2 a tsp of Cinnamon.
- Instead of 1/8 tsp. I added 1/2 tsp. of salt.
- And for my last change instead of  fitting all the filling into one 9 inch pie crust I distributed the filling  into too pie crusts.  In the past I think having so much filling in one pie made it a little too rich.  and by putting it into two pie crusts the baking time cut to about 30-35 min.
Oh and I also used frozen crusts instead of the refrigerated crusts.  I find that they don't get to brown and overcooked as the refrigerated ones seem to do.
Ta Da! here was the result.  We served them with Vanilla ice cream, but they are good enough to hold their own without any extra ice cream or whipping cream if you want.
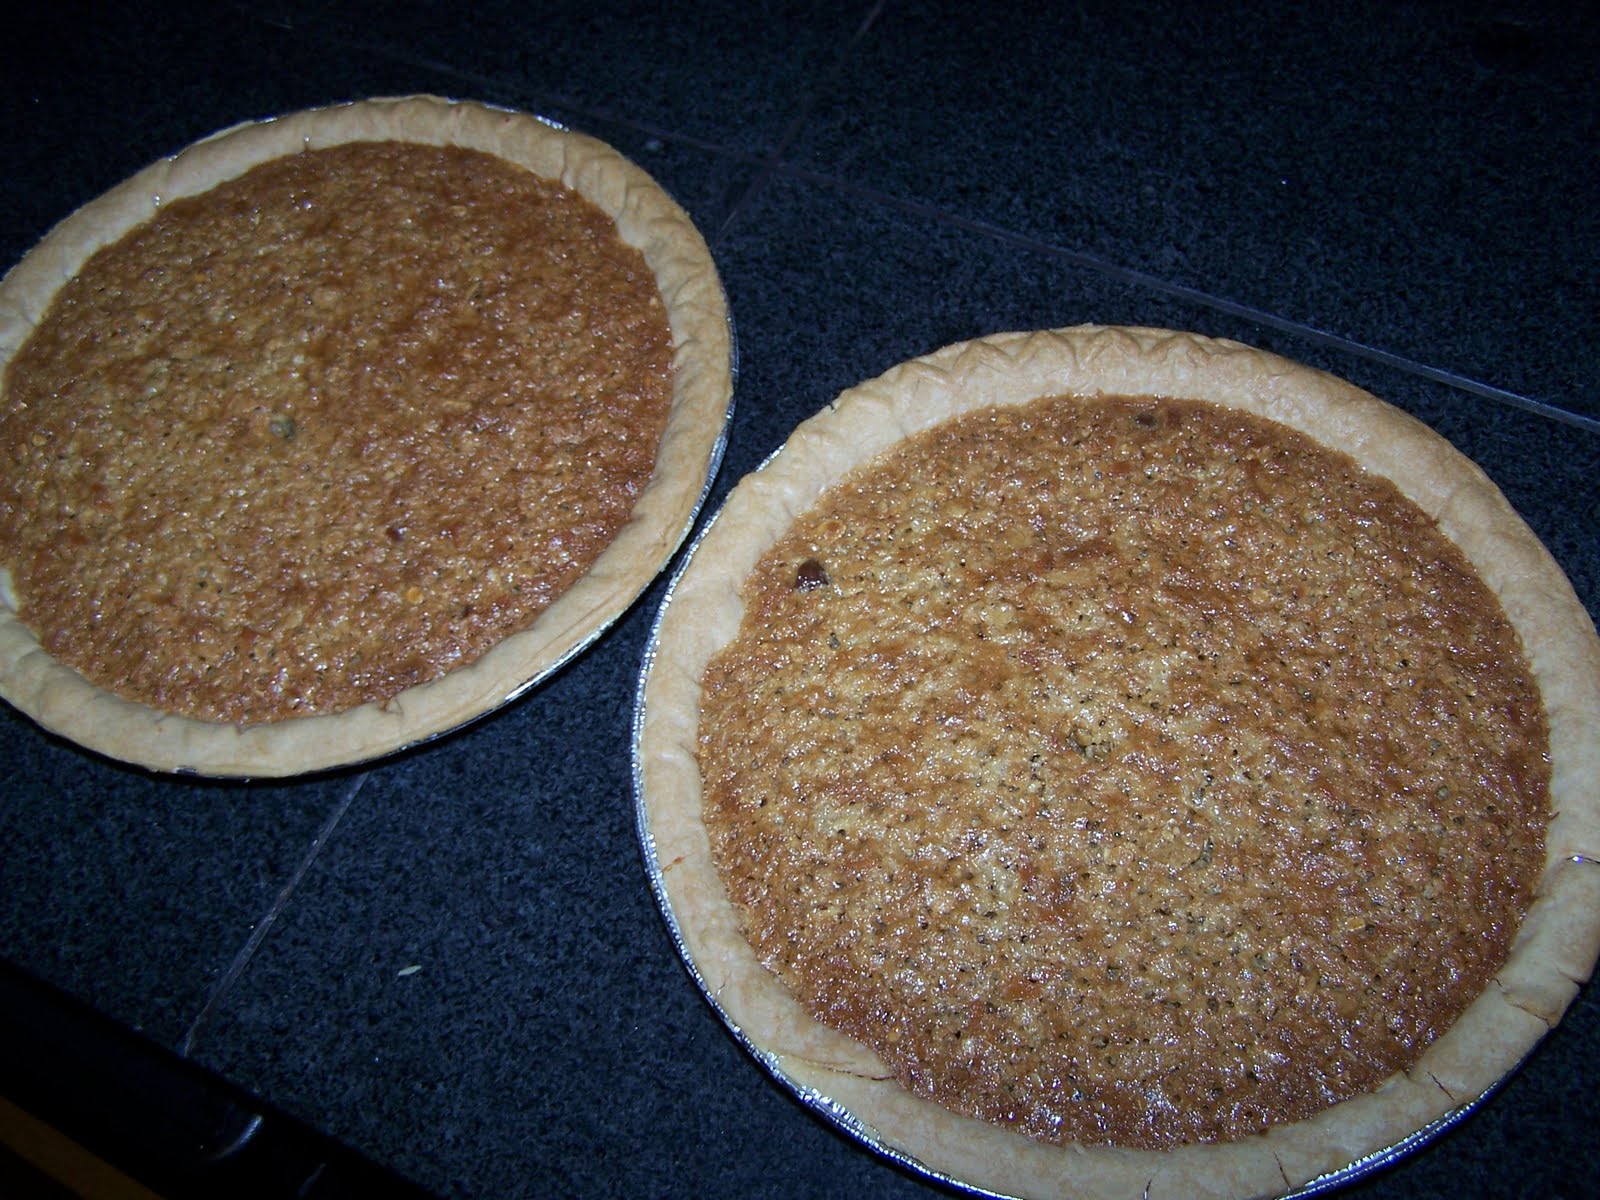
This pie is so yummy! And they did not last long at our house. I thought we could save the second pie for the next day, but everyone liked it so much we had to cut into the second pie also :-)
And like I predicted by dividing the filling into two pies it made them a lot less rich.  Which I liked.
I promise you that you will love, love, love this pie!
So good luck making it :-)

Fresh lettuce,spinach and peas!

The hard work is starting to pay off!  I am starting to reap the rewards of my garden!  This week the peas came on. ( My favorite veggie straight from the garden!)  I have such fond memories as a child sitting in the middle of the garden eating all the peas.  I am sure my mom never had enough to can or freeze because my siblings and I ate them all before they even made it to the house :-)  I took these pictures a few days ago.  and only a handful of peas were ready, but there are a lot more now :-)
My lettuce and spinach are ready also, but I just picked some of the spinach this day.   Notice the eggs in the upper left hand corner?  I gathered them at the same time.  Fresh peas, fresh spinach, fresh eggs, what a life!

My corn, beans and squash are coming along nicely too!  Like I said before I took these pic a few days ago so my corn is much bigger now. Remember I am going to use my corn stalks as bean poles that is why I have the corn and beans next to each other :-)


and in the mounds in between the corn and the beans I am growing squash, pumpkins and melons.

These are just babies right now, but hopefully by October we will have some cute pumpkins to carve!


Monday, May 30, 2011

My Gardens

So I thought I would update you all on my gardens :-) 
First off I will update you on my  U shaped raised Lasagna Garden.   I planted peas, spinach, beets, carrots, lettuce and onions early in the spring and they are doing well considering the fact that the sun has rarely come out all spring.  It keeps on raining and snowing .  Seriously I woke up to a sciff of snow just this morning two days before June!  I really  hope it will finally decide to warm up one of these days.  Anyway last week with a lot of faith I planted my warmer weather plants like Tomatoes, peppers, squash, cucumbers, egg plant, more carrots and herbs.

Here are some pics.

Here is close up of some of the lettuce,spinach and peas
I planted my corn in my 3 sisters garden last week also.   I hope it works out.  I have never planted a 3 sisters garden before.  Actually, I have never planted corn before either so it is a huge experiment really.
If you don't know what a 3 sisters garden is click on the link above and it can explain it much more then I can.  I will plant the pumpkins and beans and melons next week :-)  Anyway right now it just looks like a bunch of  dirt mounds.

I think I have mentioned before that I am wanting to add more edible plants to my landscaping. 
 So in my front flower garden I planted strawberries, romaine lettuce, a currant bush and a black berry bush.


So anyway there you have it! I will give you another update in a few weeks of  how everything is coming along :-)

Happy Gardening !

Monday, May 23, 2011

Finished Stitchery

I finished this stitchery a few days ago, but I have not had much of a chance to get on the computer these days so this morning I finally sat down to do it. Anyway here it is :-)  I have a picture of it just plain and one after I colored it in with crayon.  I can't decide which way I like it better. 


I love this quote and really liked how my little stitchery turned out :-)
There are 4 different types of stitches I used in this stitchery.


Basic backstitch
Lazy daisy stitch (flower petals, leaves and bee wings)
French knot (bee atenas, dots on I's and the center of orange flower, the center of purple flowers and dots around it, and the cream flower)
Satin stitch (door of  beehive, bee bodies

For more info on how to do the different stitches here is a great link.  Stitchschool.

Friday, May 13, 2011

Recipes and a Stitchery!

I am a huge fan of the "Taste of Home" and Quick Cooking Magazines! I used to have a subscription, but the magazines would stack up so I stopped getting them. With the idea that I would buy the cookbook that would come out at the end of the year with all of the years recipes. But I never did end up doing that. A couple of weeks ago I went to our local Library with my kids and while browsing I discovered that there was a whole section with cook books. I decided to check out some that caught my eye (most of them were Taste of Home). I have been going through them picking out recipes that sound good to me and trying them out.


What a great way to find recipes without having to buy the book! I don't know about you, but I usually have several favorite recipes in my recipe books and then there are a ton that I don't care much for and then all those books take up space in my cupboard. I wish I had thought of it sooner! I have been slowly copying down ones I know will be good and favorites that I have tried out on my family :-) Everything so far has been a hit with them!


On a different note!


I have been getting back into doing stitchery lately. I have not done it in several months because I have been too busy. but I got to teach a stitchery class to the 12 and 13 year old girls at my church. I wanted something with a Beehive and flowers and a good quote. I could not find anything I quite liked so I compiled several ideas from different patterns and made it my own!


here is what I have done so far.


I will reveal the finished product soon :-)


Also I will update you on how my gardening is going soon :-)


Friday, April 29, 2011

Easy Ramen Noodle Stir Fry

Grrrrr!   Does Spring just not exist anymore?  It is literally snowing outside at my house right now!  Next week is when I planned to plant my garden. I hope Mother Nature will decide which season it is by then! 

Anyway this winter type day made me in the mood for something warm and comforting for dinner.  I saw a recipe a few days ago in one of my many cookbooks using Ramen Noodles in a stir fry.  I have had no luck finding it again.  I just have the image of the picture in my mind.  So I decided to try and figure it out myself using another recipe online as a guide that sort of helped, but it was not exactly what I was looking for so I tweaked it to my liking and it turned out really good :-)    If you are interested here is what I did. Oh and sorry no pictures :-(  My family devoured it before I thought to take a picture.

Ingredients:

2 packages of Ramen Noodles ( I used a combo of oriental flavor and beef flavor)
1 package of frozen stir fry veggies
Meat of your choice. chicken, beef, pork ( I used a lb of ground pork)
1/2 onion (chopped )
water
cornstarch ( 2 tsp)
season salt ( add for flavor)
soy sauce (about a tablespoon)
2 tablespoons oil
1/2 cup of peanuts

First I removed the noodles from the Ramen Noodle packages and boiled them in 2 cups water for 1 minute and took off the heat and drained the water off. 
Then I added 2 tablespoons oil to a saute pan and browned the meat with the chopped onion and sprinkled it with season salt  and about a tablespoon of soy sauce.  Once the meat was browned I added the stir fry veggies. When they started to soften up I sprinkled on the 2 season packets from the  Ramen Noodle packages.
Next I stirred 2 tsp of cornstarch in a cup of cold water and added it to the meat and veggies and seasoning and stirred until It thickened up.  Then I added the noodles to the meat and veggie mixture. I found that my sauce was too thick so I added water a little at a time until it was the nice saucy consistency that I wanted it to be.
 Last I stirred in the peanuts.  Our family also loves to sprinkle those crunchy chow mien noodles on top to give it some extra crunch :-) 

This meal was easy, cheap, and filling!  I will for sure be making it again!

Monday, April 18, 2011

Cute serving apron

So here is one of the finished  half aprons I have been making. 


I am making these aprons for a wedding reception. The serving girls are going to wear them, and they are also going to be their gift for helping serve at the reception. I love the simple black and white with just a touch of green :-)