Showing posts with label gift ideas. Show all posts

Thursday, June 7, 2012

DIY Rose Wire Rings

I saw this tutorial at Handmadeology.  And I thought to myself  hmmm..... I can do that!   Or something similar to it anyway :-)   I did not have the right wire on hand, but it was about 9:00 at night (too late to go to the craft store) So  I decided to mess around with some galvanized steel wire that we had on hand in our garage, and this is what I came up with :-)


If you are interested to know how to make one yourself  here is a little tutorial of how I made them.  I feel like I am terrible at explaining  tutorials so hopefully it makes sense :-) 

These are the supplies that I used. Galvanized steel wire we had in our garage,  wire cutter and pliers, and a tube of chap stick.


First I got a piece of wire.  I am not sure how long it is.  I just unraveled two rotations from the this wire spool. maybe it is about a foot long.

I realized right away that the wire was pretty thin so I doubled it up. 


Then I twisted it to give it more stability. And happily I think it gives it a nice look with the twist.  I found that it helps to get a more uniform twist if you use your pliers. it is hard to see in the picture that I am twisting the wire, but if you look really close you can tell :-)


Once I had it all twisted I wrapped it around a chap stick tube. this is the part where it gets confusing to explain.  I placed the chap stick tube directly in the center of my wire piece

 then I wrapped the wire around the tube crossing the two ends across each other. 

Then I wrapped it around again a second time until the two ends met up again.


This time cross the ends and twist them around each other once.


Then start wrapping/spiraling them around the middle twist part.  


Keep wrapping/spiraling them around until you can't wrap them anymore. At this point you need your pliers to help tuck the ends under and I also use the pliers to shape it a little more to my liking.
And this is what you end up with :-)


I have made one for each of my girls even the 3 year old.  They love their rings :-)
I love it when I can make pretty things with ordinary stuff laying around my house!

Wednesday, May 9, 2012

Mothers day pendant Necklace DIY

Hey all!
So Mothers day is coming up this Sunday and I made a fun and hopefully meaningful gift for all my sisters and sister in law.  I have wanted to do this project for about 2 years now and finally got my act together this year and made it happen :-)
My Mom passed away about 5 years ago from cancer. My sister in laws Mom passed away from cancer about 10 years ago.  So Mothers day is a difficult day for all of us.  I wanted to make something to honor our Mothers, and to keep the memory of their beautiful spirits that have passed onto the other side close to our hearts :-)

I made Pendants with their photo and matching ear rings. I was just going to make the pendants, but felt matching ear rings would be a  nice touch :-)


This is my sister in laws Mother up above.  Her Birth stone is Garnet so I found beads in that color.


This is my Mother :-)  Her Birthday stone is the Amethyst  and also her favorite flowers are lilacs so purple is her color :-) I can't wait to wear this on Sunday!

If you want to make something like this yourself here are the supplies I used.


You will need a....

-pendant blank
-chain
-epoxy squares.
-beads and charms to enhance it.
- a small photo or picture

I got most of my supplies from Buyjust5supply on Etsy.
  I used my digital scrapbook program to make the pictures the size I wanted (after several attempts) to fit in the pendant tray.  
I put the epoxy square on the photo (love those things)
Then I put a drop of diamond glaze in the pendant tray and pressed the photo in.
Add the chain and your done if you would like, but I added beads and charms to mine to add some character and a personal touch.


I also am making this yummy Sugar Lemon Scrub for the other friends and mothers in my life.

You can find the recipe here. So easy!
Instead of  adding 1 cup olive oil I added a half cup coconut oil and a Half a cup of Olive oil, but other than that it is all the same.

Have a Happy Mothers day everyone!  :-)


Monday, December 12, 2011

Fun Handmade Gifts ideas!

Tis the Season! My poor little blog has been so neglected lately!  I keep thinking that my sister Paula will post some of her fun ideas from her Super Saturday she did a few weeks ago, but alas we will all have to be left in suspense :-) I am so excited about how well my Etsy store did this season!  It has been such a blessing to finally master and conquer my fear at using the scroll saw because I am not limited at waiting on others to help me with my projects I can just go and cut them out myself :-)
I decided this year for Christmas that I wanted to take advantage of all the wonderful talent out in Etsy land and other crafters in my area by trading and buying from other hand crafters.

Here are a few fun hand made gifts that my family will be getting this year :-)

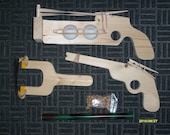
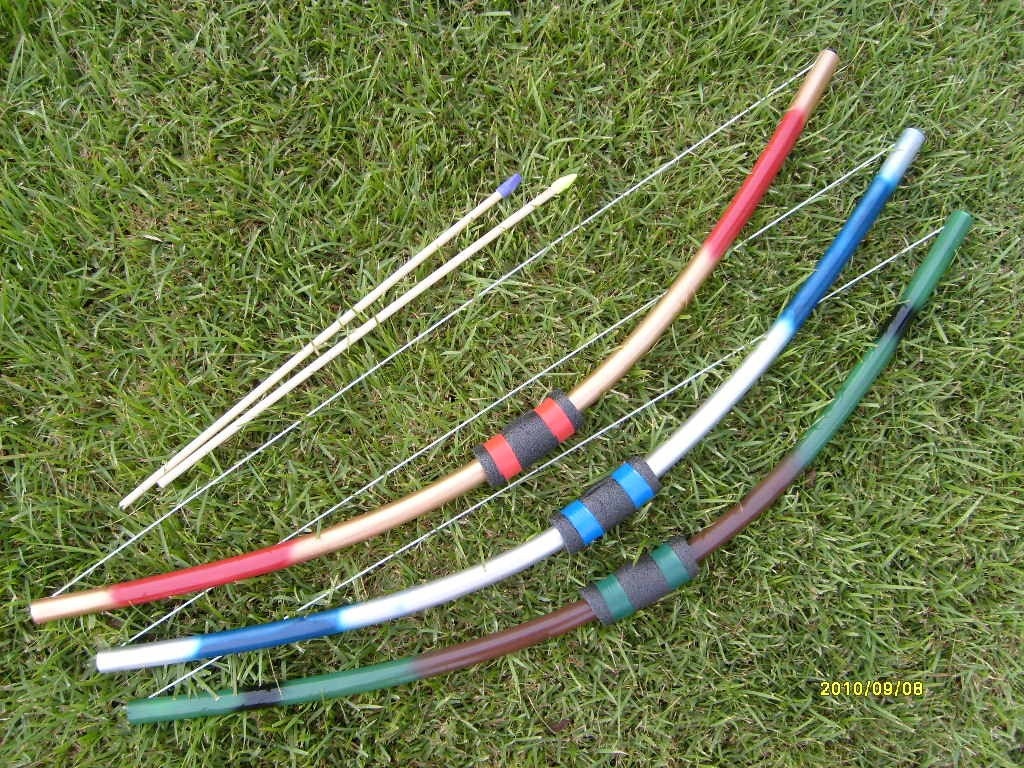
First the Etsy store Backwoods Toys
Slingshot, Pea Shooter Combo3 Bows & Arrows for Kids

They have the coolest homemade bow and arrows, pea shooters, Rubber band shooters, ping pong ball shooters etc.  I got what's pictured above for my 11 year old son who loves this kind of stuff! Don't let the homemade look of these items fool you into thinking they are not well made. When we recieved our package in the mail my husband tried the bow and arrow out first and before he could even pull the arrow back all the way he mistakenly let go too soon and it flew across the house! We tried out the all the other little weapons also and they worked great too! And it is safe because they have eraser tips on all the arrows :-)

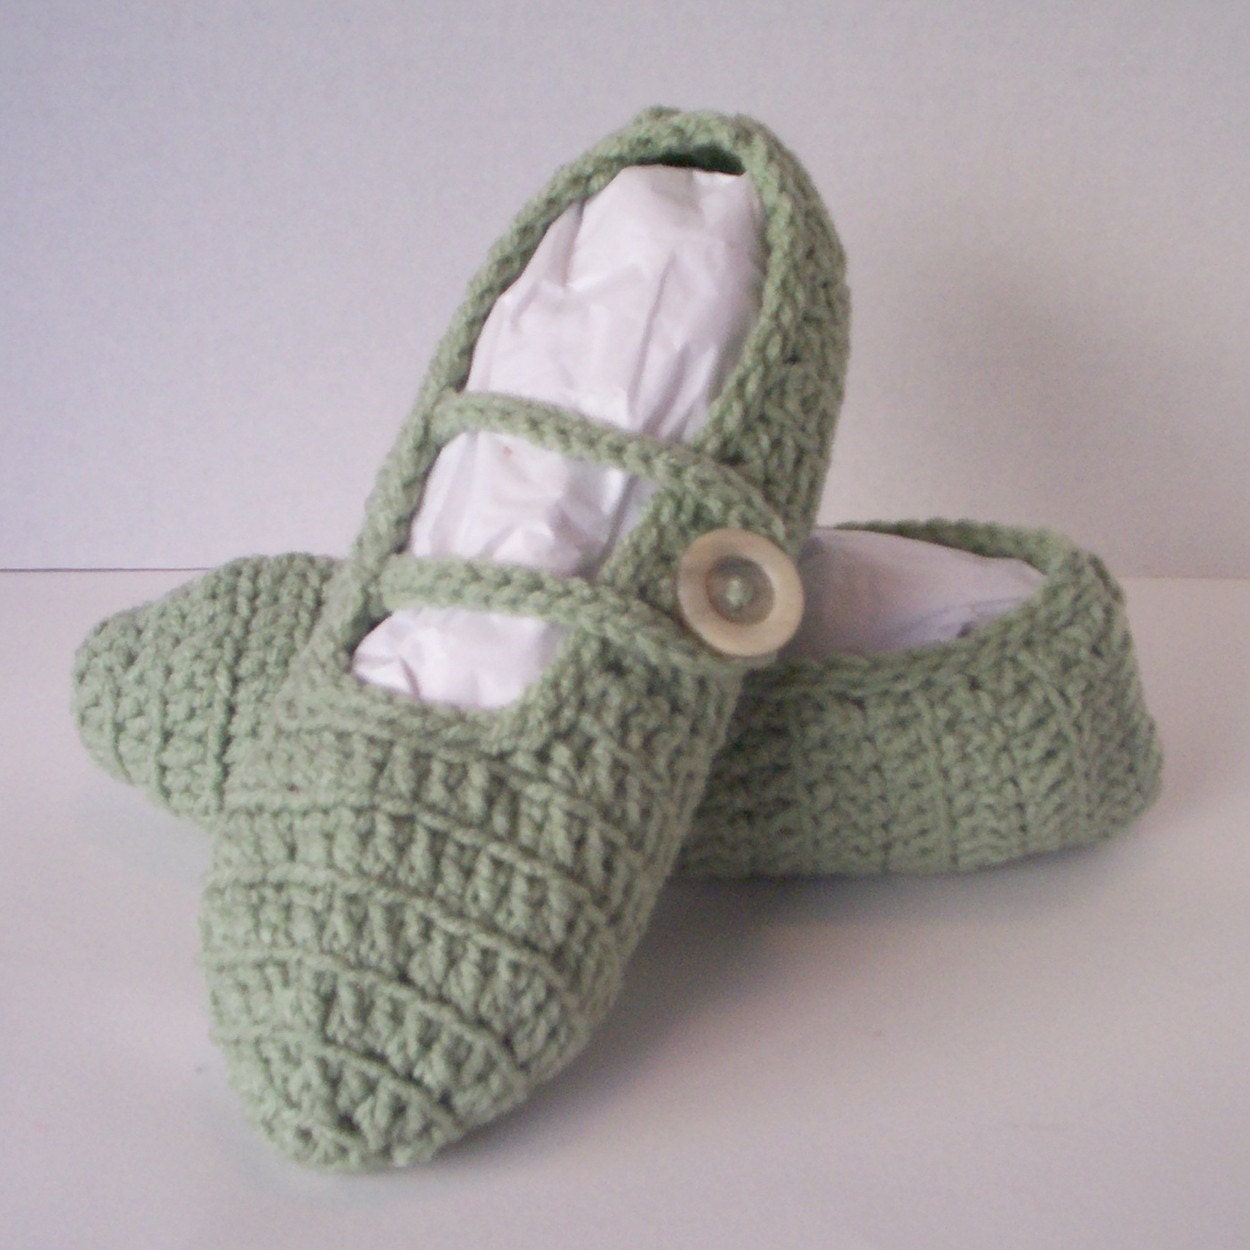
Next I traded one of my puzzles for 3 crochet  Mary Jane slippers from an Etsy store called Made by Mitzy
Women's Crochet Mary Jane Slippers--Frosty GreenThese slippers are so cozy and well made!  I can't wait for my daughters to open them Christmas Eve with their new P.J's :-)


Another fun trade I made with a wonderful lady I met here locally at a craft fair I did.  She makes the cutest Cat and owl dolls! She calls them scrappy cats. She made one for all my girls.  I was just going to get one for my 3 year old, but thought they would be a perfect addition on my teenagers beds to add to their room decor! here are a some pics at what she does. 


And they are even cuter in person than they are in the pictures. 
She does not have a Etsy store yet, but if you are interested I can get you in contact with her just let me know:-)

I also think News boy caps like this are so adorable! I found these ones at Angelas studio1 at Etsy :-)
Newsboy Hats Caps Crocheted Newsboy

So think about adding some unique original handmade gifts to your list this year :-)

Happy  Crafting everyone!
Michelle

Thursday, November 17, 2011

Dollar store arm warmers

Lately I have been looking for cute arm warmers/ open finger texting mittens for my teenage daughters, but I have not found any in the price range I want. So I was at the dollar store tonight and we saw some cute toe socks hanging on an end cap.  I have always hated toe socks because I think they are super uncomfortable.! I think all socks are uncomfortable though ;-) Anyway the minute I saw them  I knew exactly what to do with them! 

Ta Da!  Instant arm warmers/ texting mittens!

Friday, November 11, 2011

more puzzles!

So I decided to add a background to my Russian doll puzzle and I also made another Russian doll puzzle and a vehicle puzzle too! You can order these at my Etsy store if you want a unique gift for a little one.  My 3 year old has been having a great time playing with these puzzles this week ;-)


So there you go!  Happy crafting everyone!
Michelle

Tuesday, November 8, 2011

Matryoshka doll puzzle

So here is puzzle #2!
 I was at a friends house recently and she had all these neat wood puzzles that were just simple and fun :-)  A couple of them were even from her childhood.  As I watched the kids happily playing with them I thought I bet I can make one of those!  Wood puzzles are hard to find and when you do find them they are  kind of expensive. I thought that they would make nice Christmas gifts for little ones (mine included).  So I started looking on Google for simple color pages for some inspiration that would make good wood puzzles. I found some cute ideas!  here is the  Matryshka doll puzzle I made :-)

First I cut the doll shapes out of a carefully measured piece of pine wood. I also cut little notch holes at the bottom of each doll so that they could more easily be taken out.  Then I glued a nice plywood on the back.
Next I drew my dolls. (Before I had the doll designs drawn on my little 3 year old thought they were ghosts :-)  Any way then I took my new trusty wood burner tool and wood burned over my drawn design and here is what they looked like after that.


Then I painted them with water color paint.


Now before I stain it I am trying to decide if I need to put in some sort of back ground or put a title of "Matryoshka dolls" on it  somewhere.  Anyone have any ideas?  Should I leave it be or add something more?

Michelle

Sunday, January 10, 2010

Book Mark gifts for Primary

I am the secretary in our Primary Pres. at church and  we were trying to come up with Birthday gifts for the kids that would have the Theme for the year "I know my Savior lives".   We decided to do magnetic book/scripture marks.  We have the picture of Christ with the children on the front and the 2010 Theme on the back.


We borrowed this book mark idea from one of my favorite blogs I follow http://www.controllingmychaos.com/search/label/bookmarks  She explains how to make them.
I think they turned out really cute :-)  We lamented ours so that they would be more durable.

Saturday, October 10, 2009

Finally!

After a much unexpected delay I finally have my etsy shop up! Yay! My store name is called Bug a boo Crafts and here is a link.  bugaboocrafts.etsy.com